“霞が関”の硬質な空気感を撮る。東京高裁・地裁前の道で撮影する|千代田区
@scenescoutjp
Scene Scout Japan|撮影スポットガイド
駅前の大型ビジョンって、ただの広告媒体ではなくて、街のテンションを決める“背景”になっていることが多いです。
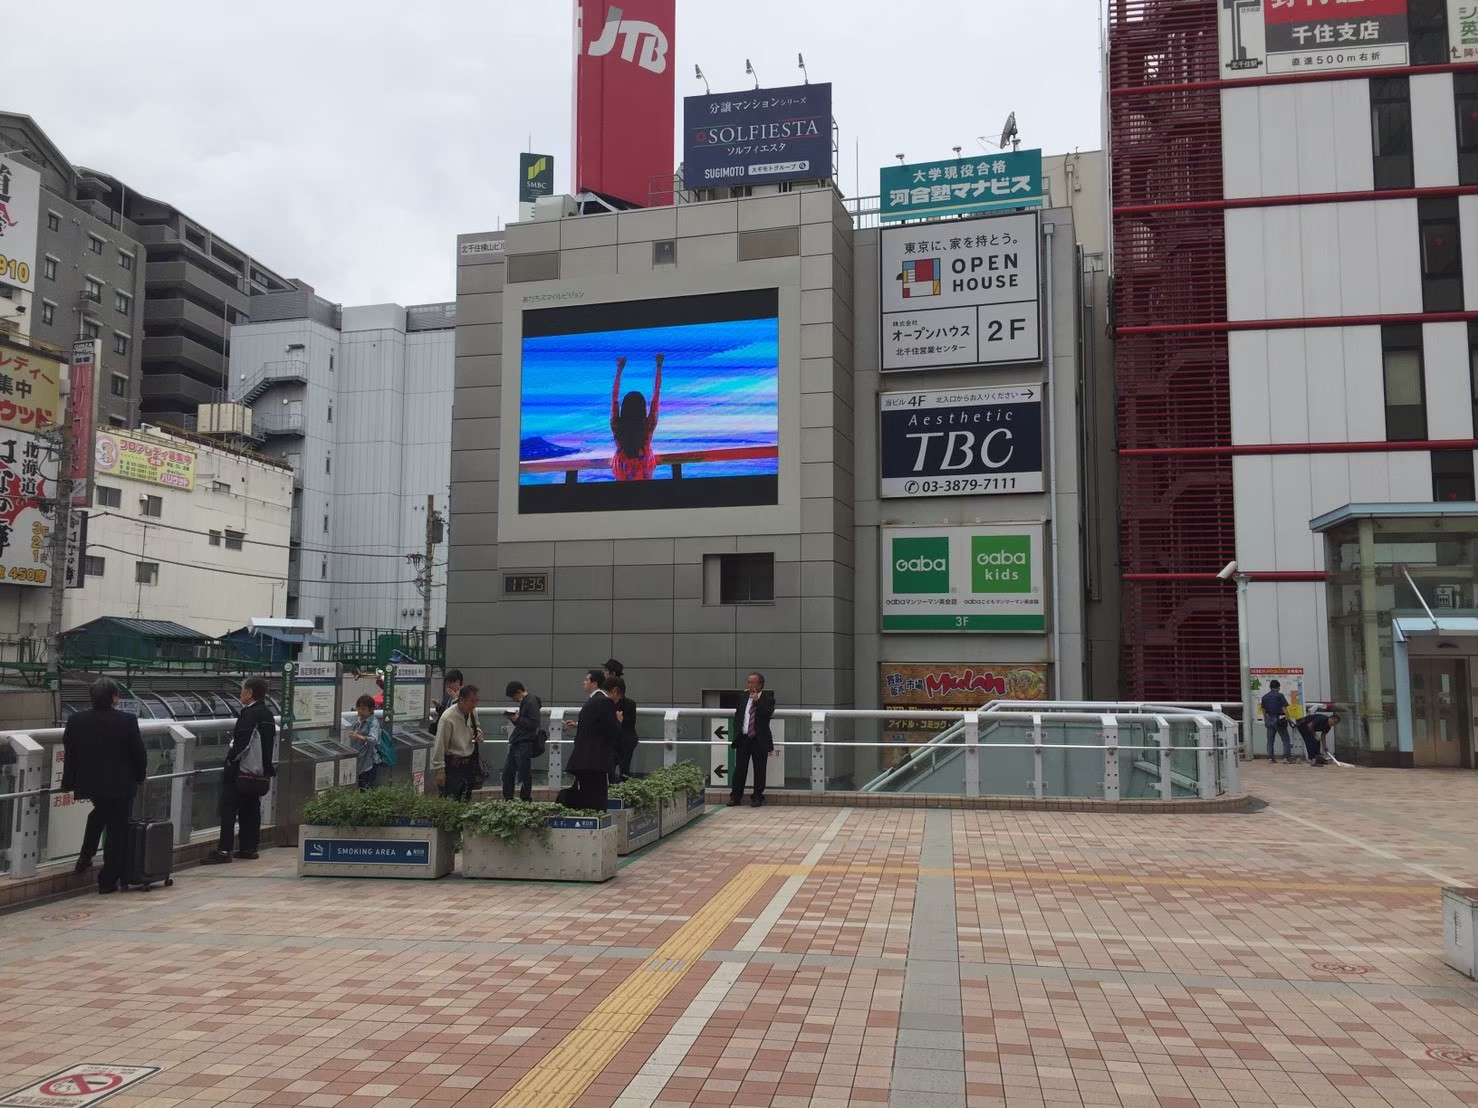
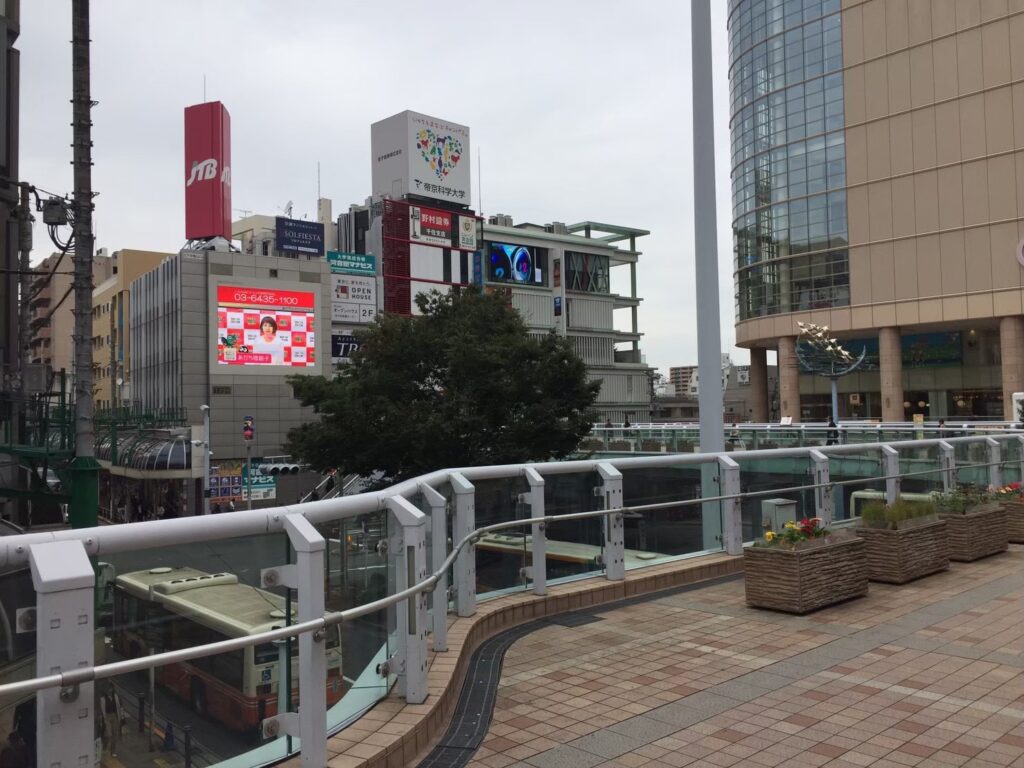
北千住駅西口の目の前にある あだちスマイルビジョンは、まさにそのタイプ。ペデストリアンデッキから一望でき、駅前広場に人の滞留も生まれるため、「都市の生活感」や「待ち合わせの空気」が自然に撮れます。
今回はビジョンそのものだけでなく、“ビジョンがあることで成立する街の画”をロケハン目線でまとめます。
English
Large outdoor screens aren’t just ad media—they often become a visual “backdrop” that defines the city’s mood.
Adachi Smile Vision, right in front of Kitasenju Station West Exit, is exactly that kind of landmark. It’s visible from the pedestrian deck, and the plaza in front encourages people to gather—perfect for capturing urban daily life and meet-up energy naturally.
This scouting post focuses not only on the screen itself, but also on the city scenes that become possible because the screen exists there.
あだちスマイルビジョン周辺の強みは、“映像の背景”として圧倒的に使いやすいこと。
English
The biggest advantage is how easy it is to use as a powerful background with instant Tokyo energy.
設置場所は 東京都足立区千住2-59(北千住駅西口)と案内されています。
English
The screen is listed at 2-59 Senju, Adachi City (Kitasenju Station West Exit).
放映時間は媒体資料で 8:00〜21:00(13時間)表記があり、音声ありとされています。
(別資料では7:00〜23:00といった表記もあるため、撮影計画では最新情報の確認がおすすめです)
English
Media listings show 8:00–21:00 (13 hours) and note that the screen includes audio.
(Some materials show different hours, so it’s best to confirm the latest info when planning a shoot.)
動画枠は **W7.2m×H4.0m(16:9)**として案内されています。
English
The video frame is listed around W7.2m × H4.0m (16:9).
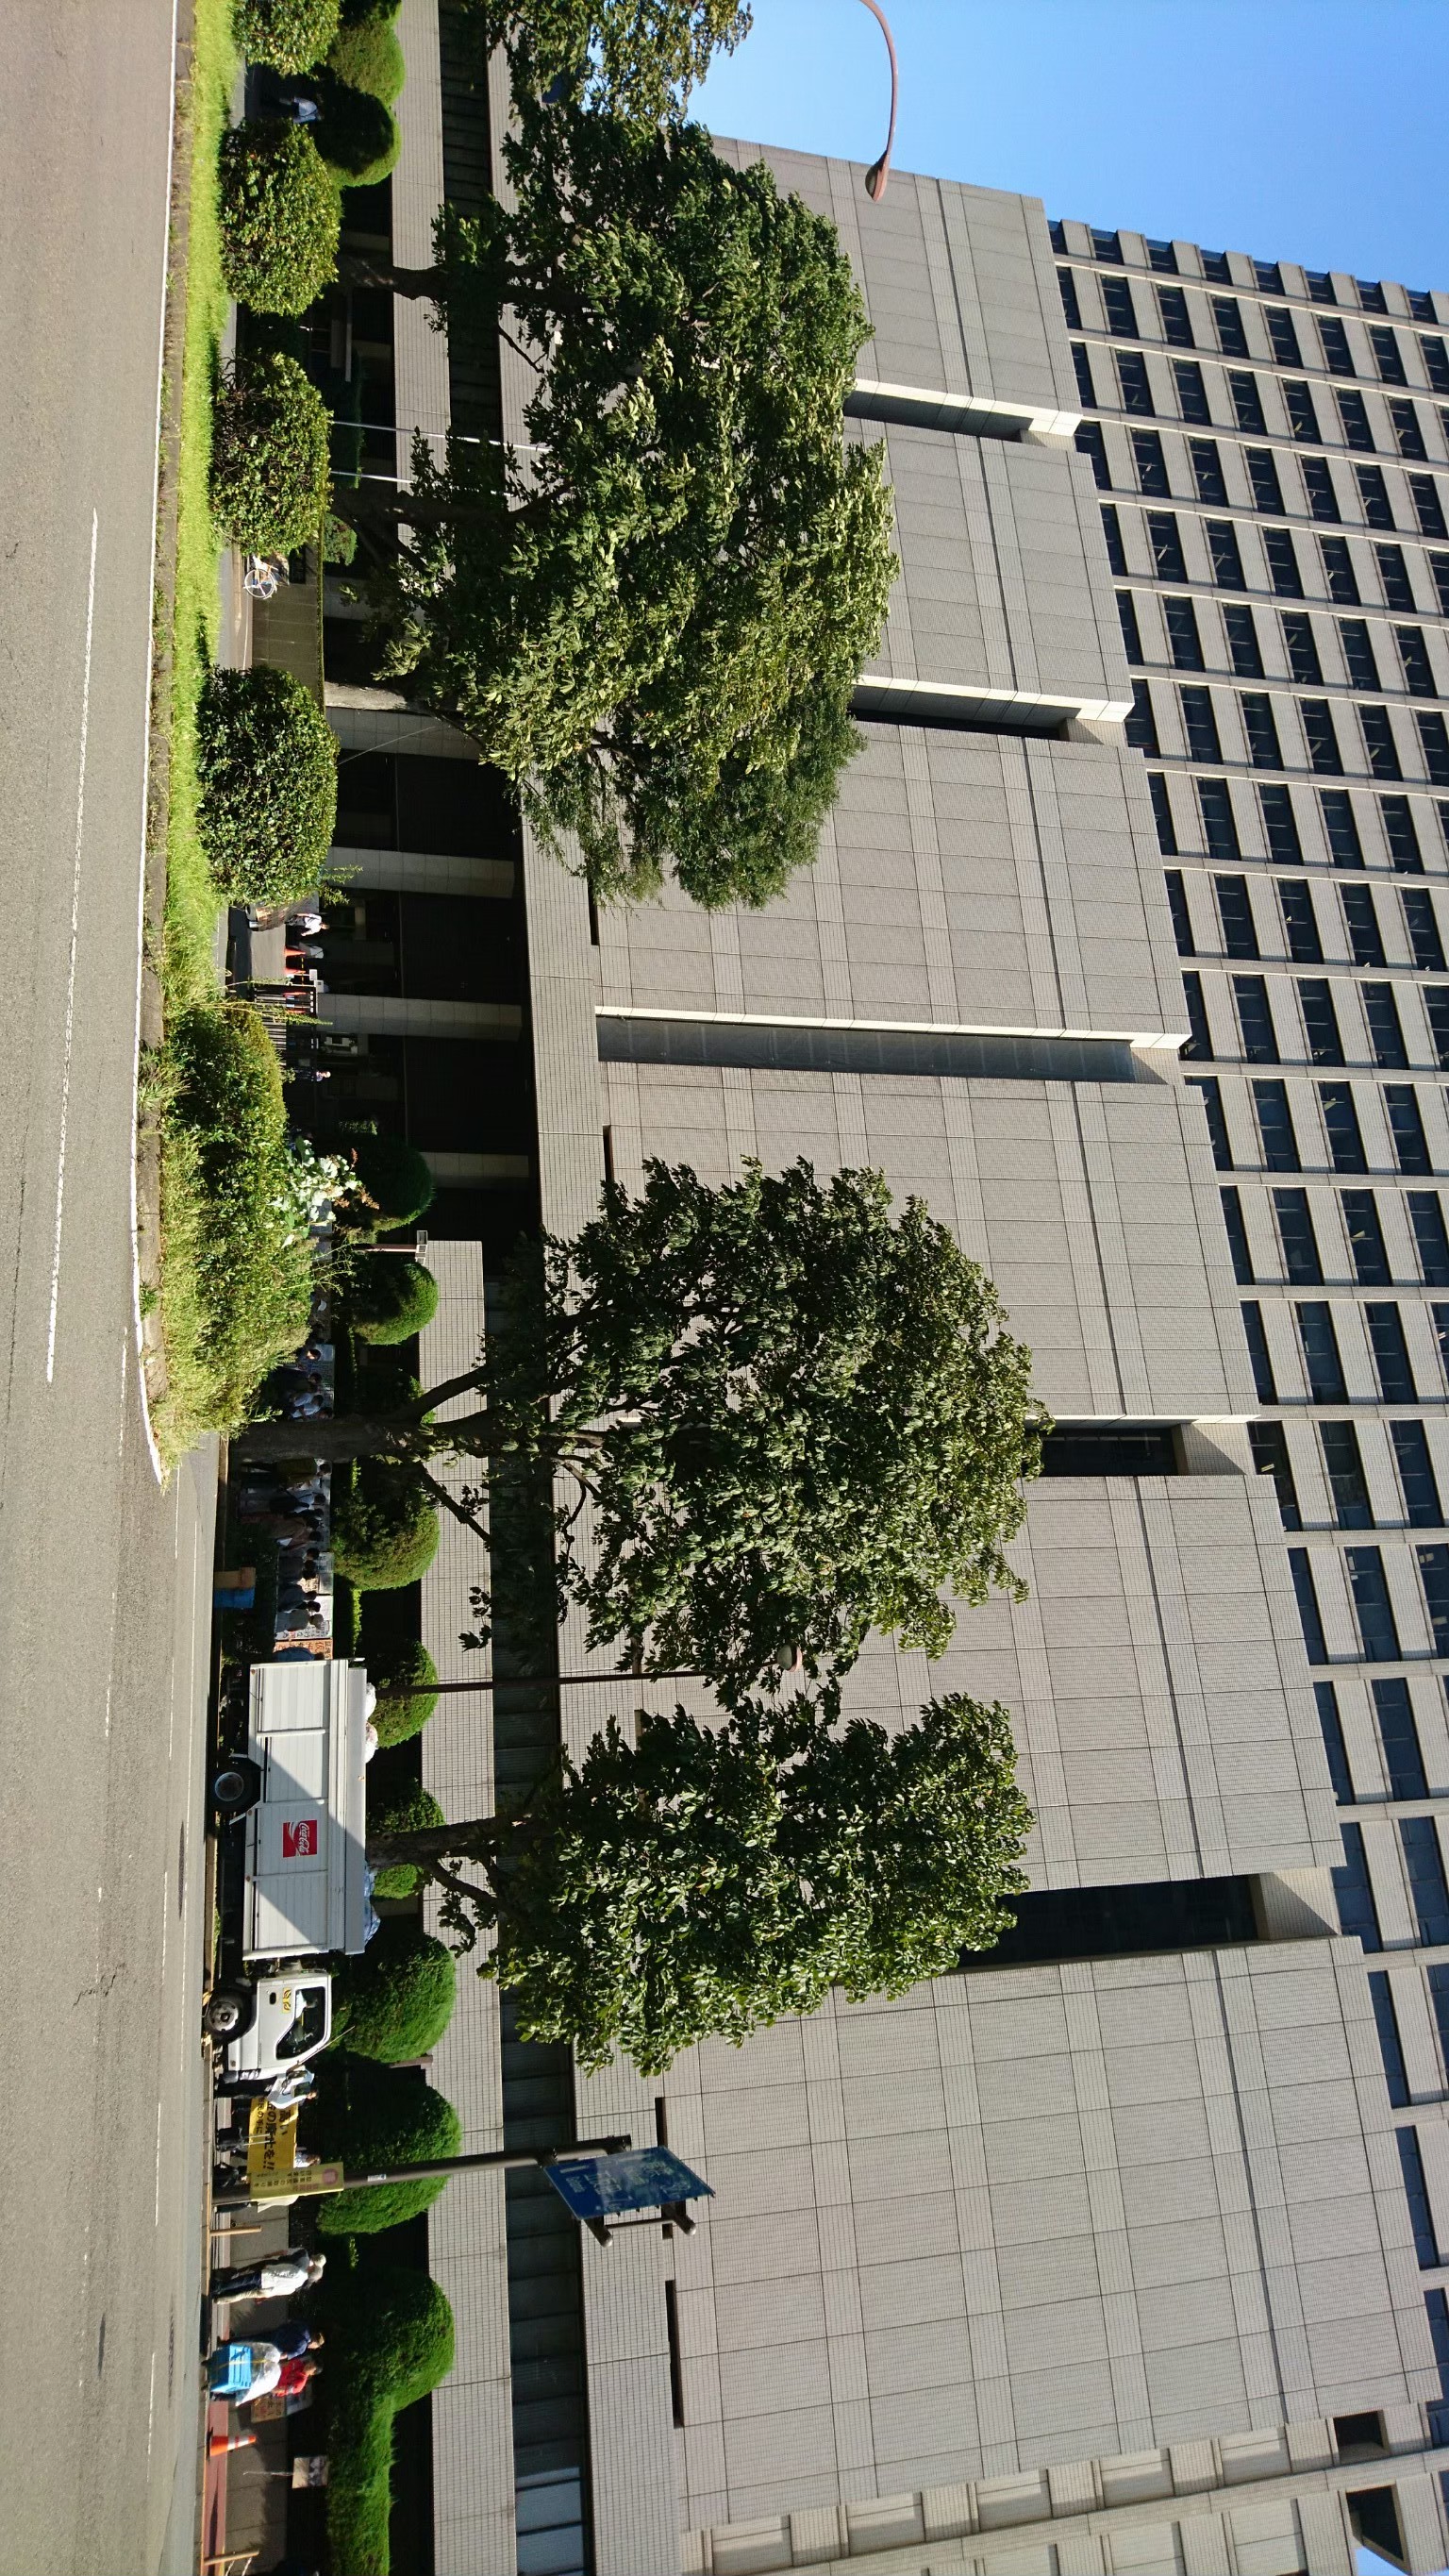
昼は、買い物・移動・待ち合わせなど、街の通常運転が主役。
ビジョンの光は昼でも存在感があり、背景として使いやすいです。
English
Daytime brings regular routines—shopping, commuting, meeting up.
Even under daylight, the screen stays visually strong and works well as a background element.
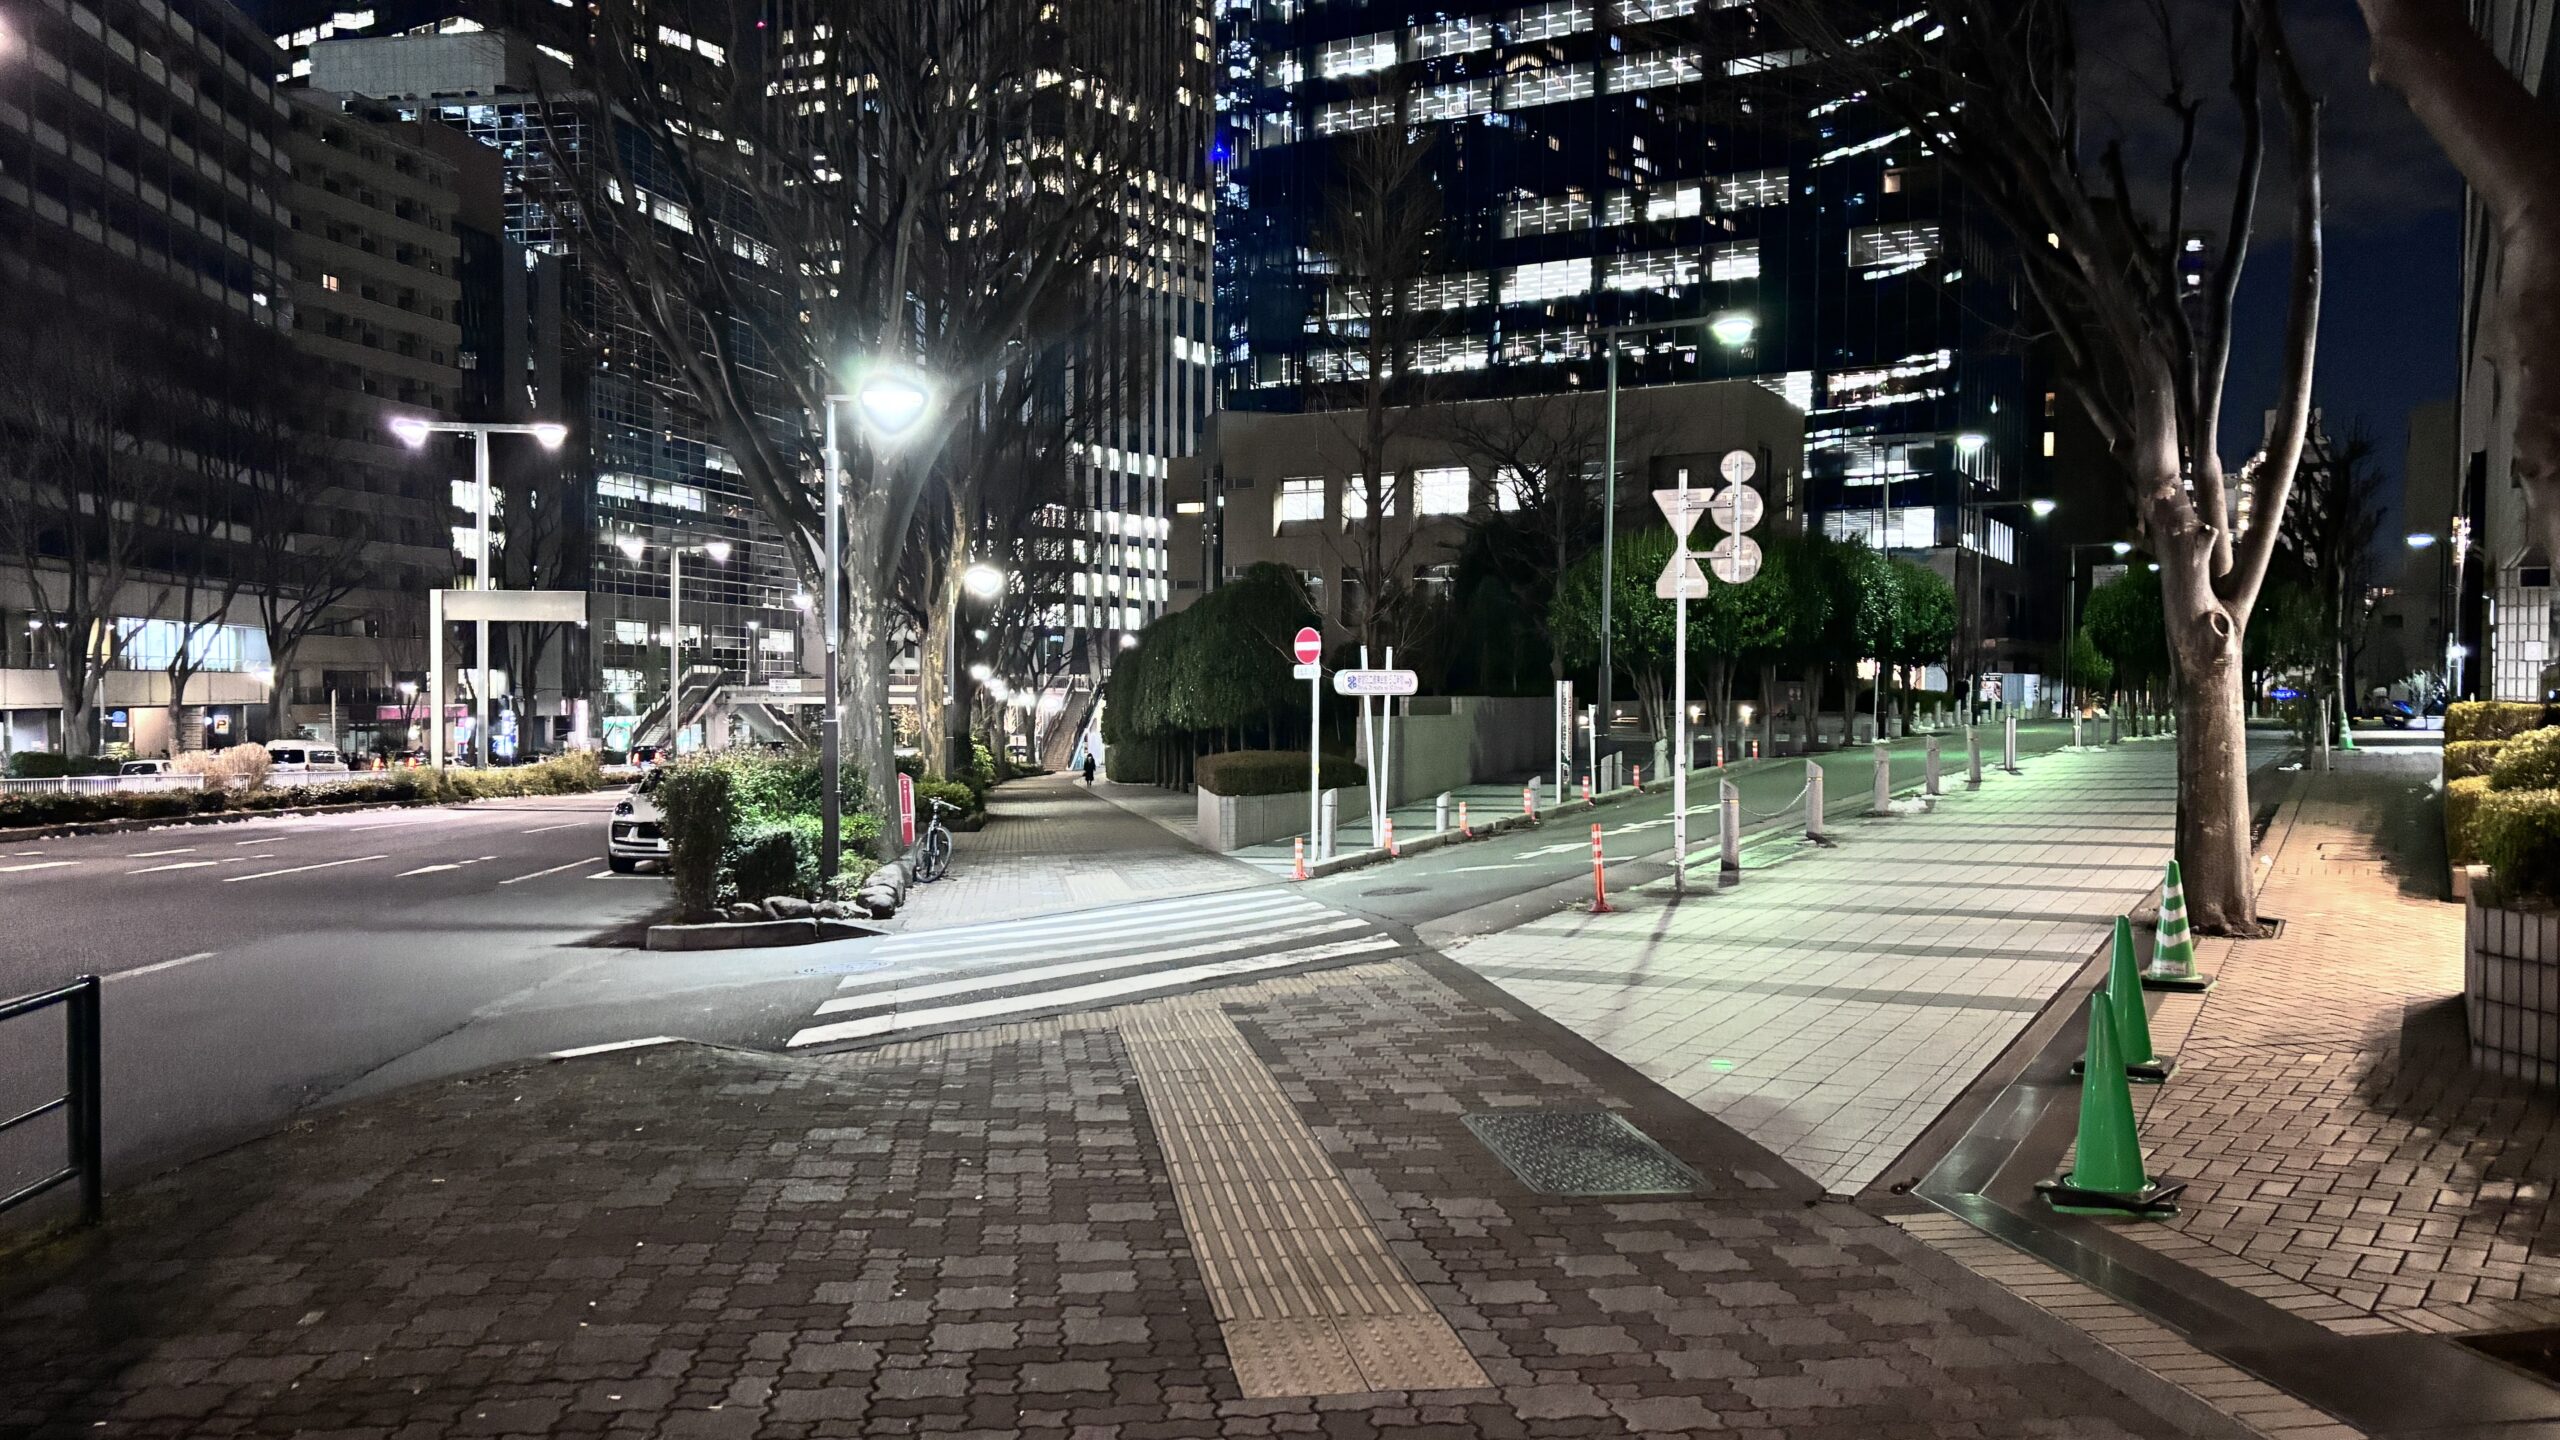
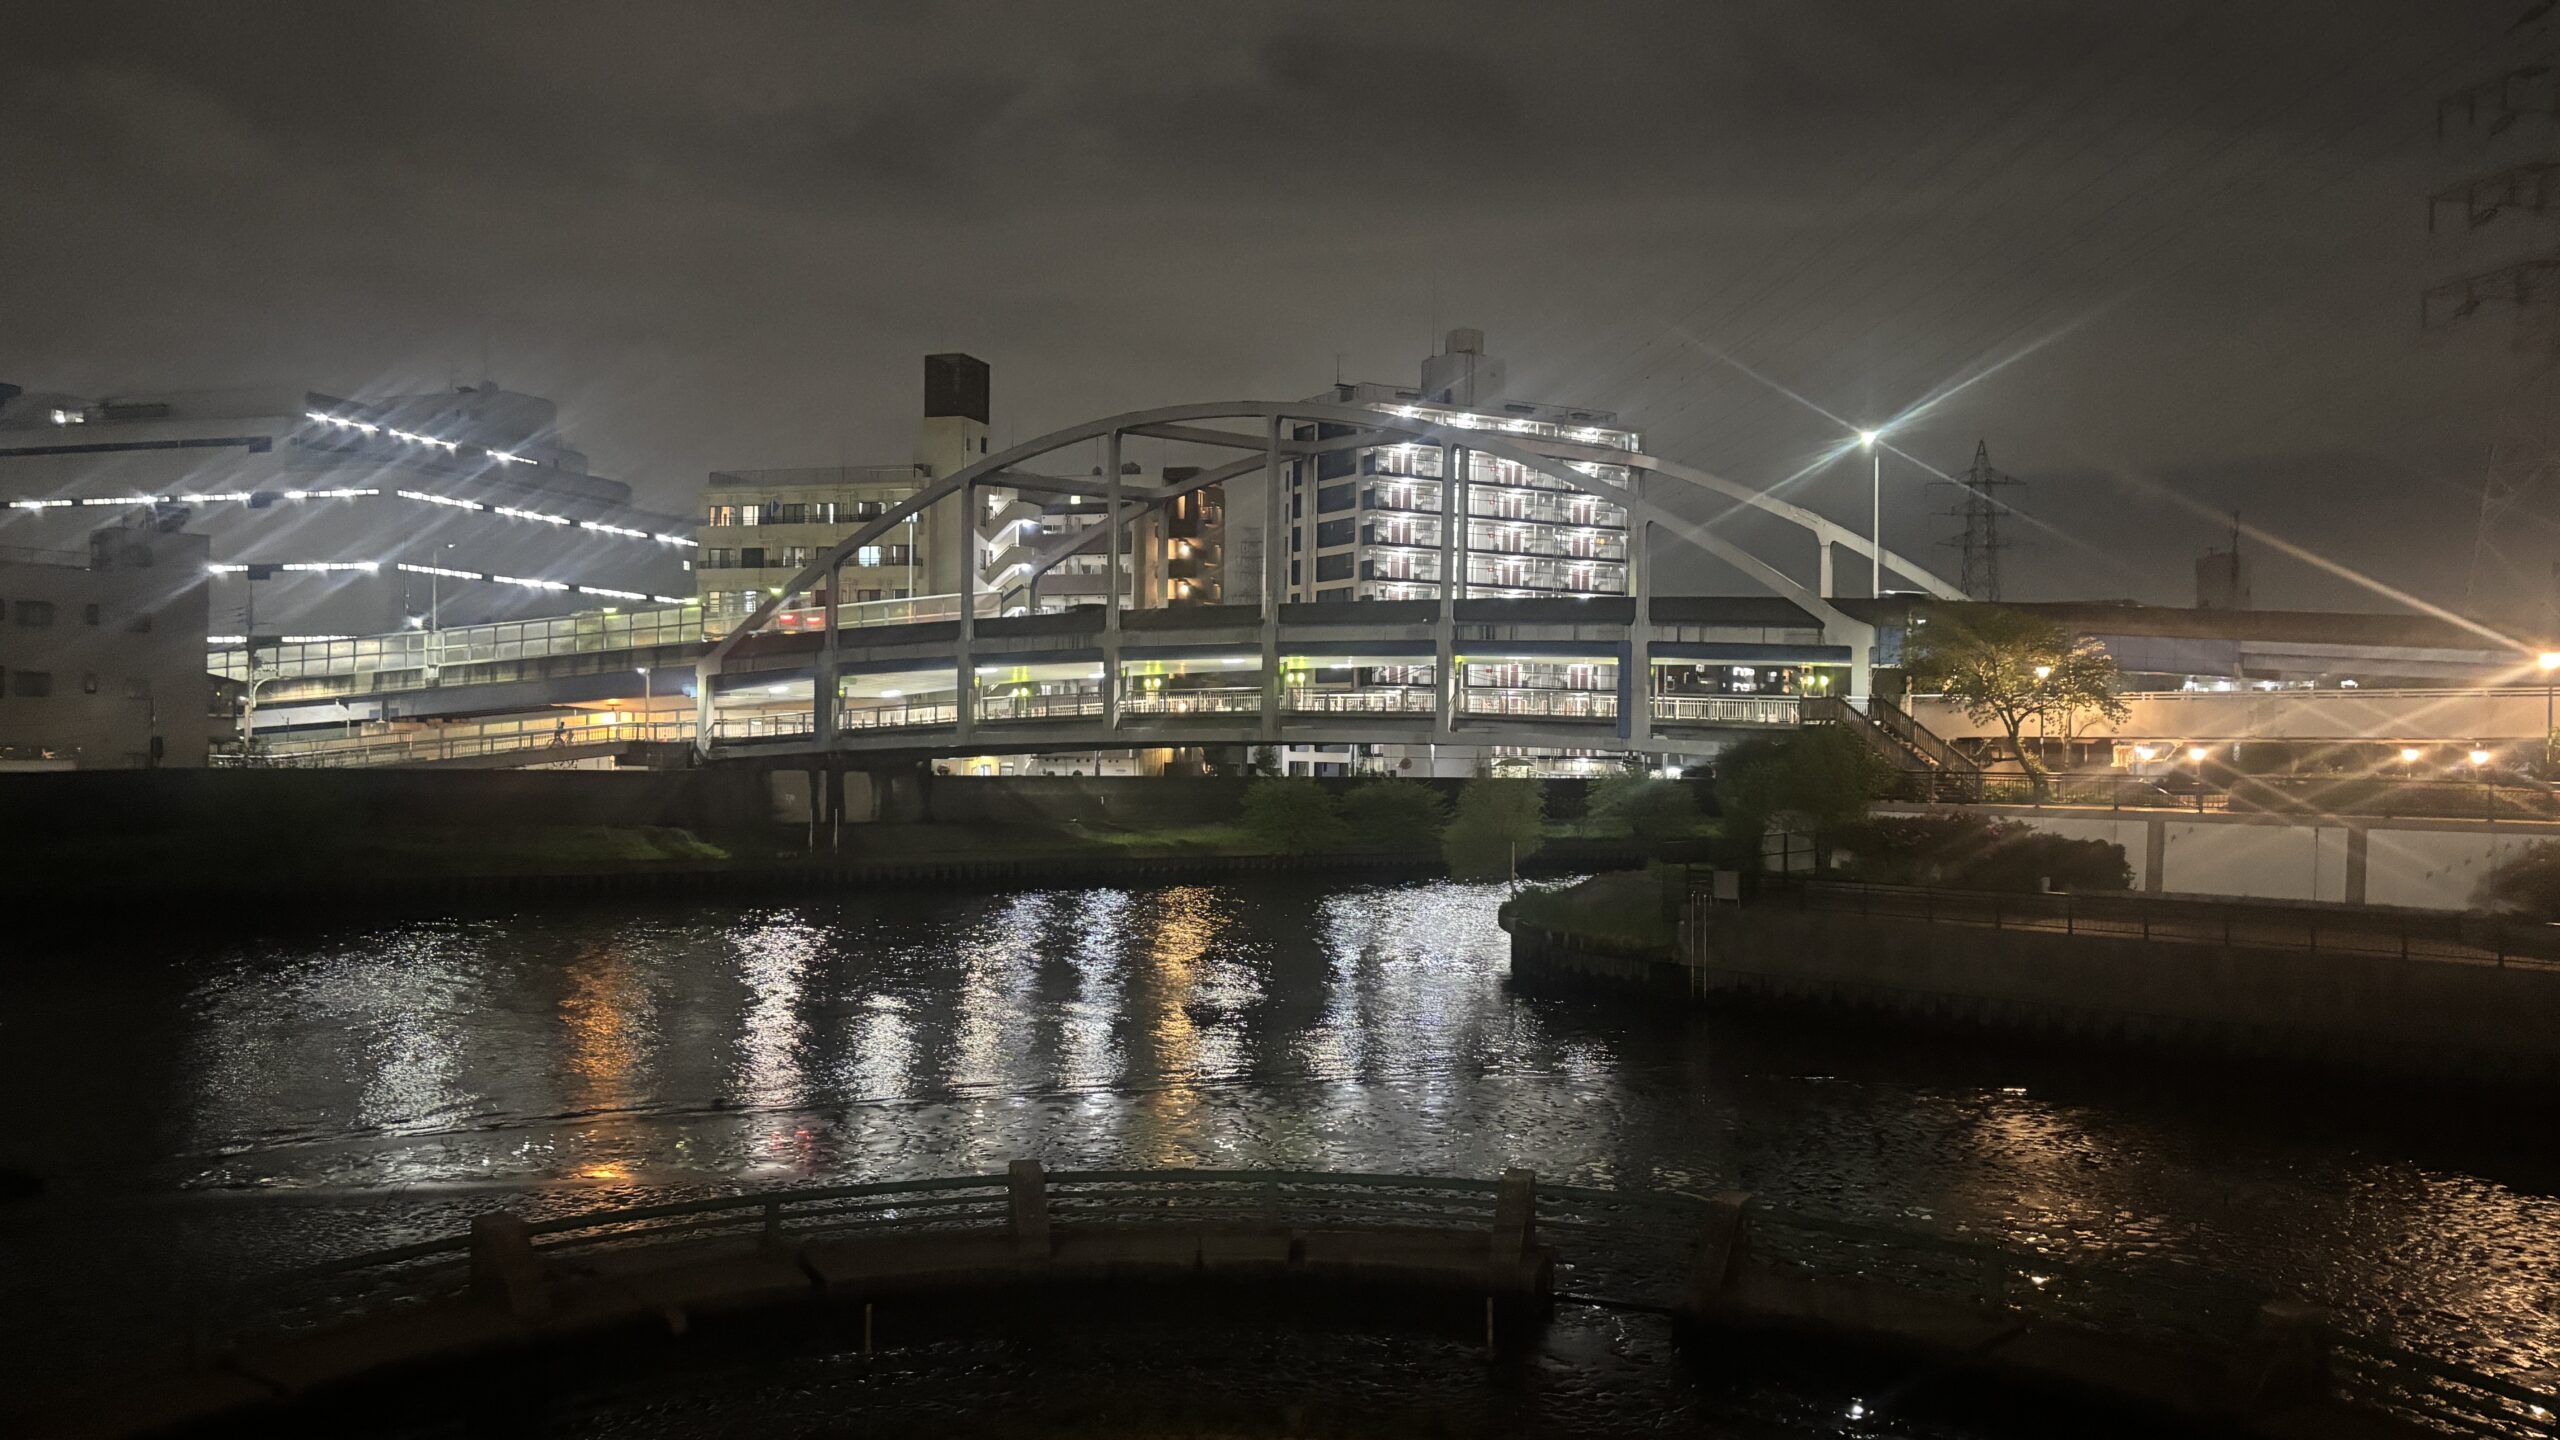
ビジョンの光+周辺の商業施設の灯りで、情報量が一気に増えます。
Vlog・MV・ストリートスナップ・ナイトシーンの導入にかなり強い。
English
The screen glow combined with nearby commercial lighting instantly increases visual energy.
Excellent for vlogs, music videos, street photography, and night-scene storytelling.
媒体情報でも「ペデストリアンデッキ正面」とされており、ここが基本のベストアングル。
デッキ上から撮ると、ビジョンと人の流れを同時に入れやすく、画面の“都市感”が一気に出ます。
おすすめカット
English
Listings mention the screen is positioned facing the pedestrian deck, making this the best baseline viewpoint.
From the deck, it’s easy to frame both the screen and the crowd flow, instantly delivering strong city atmosphere.
Recommended shots
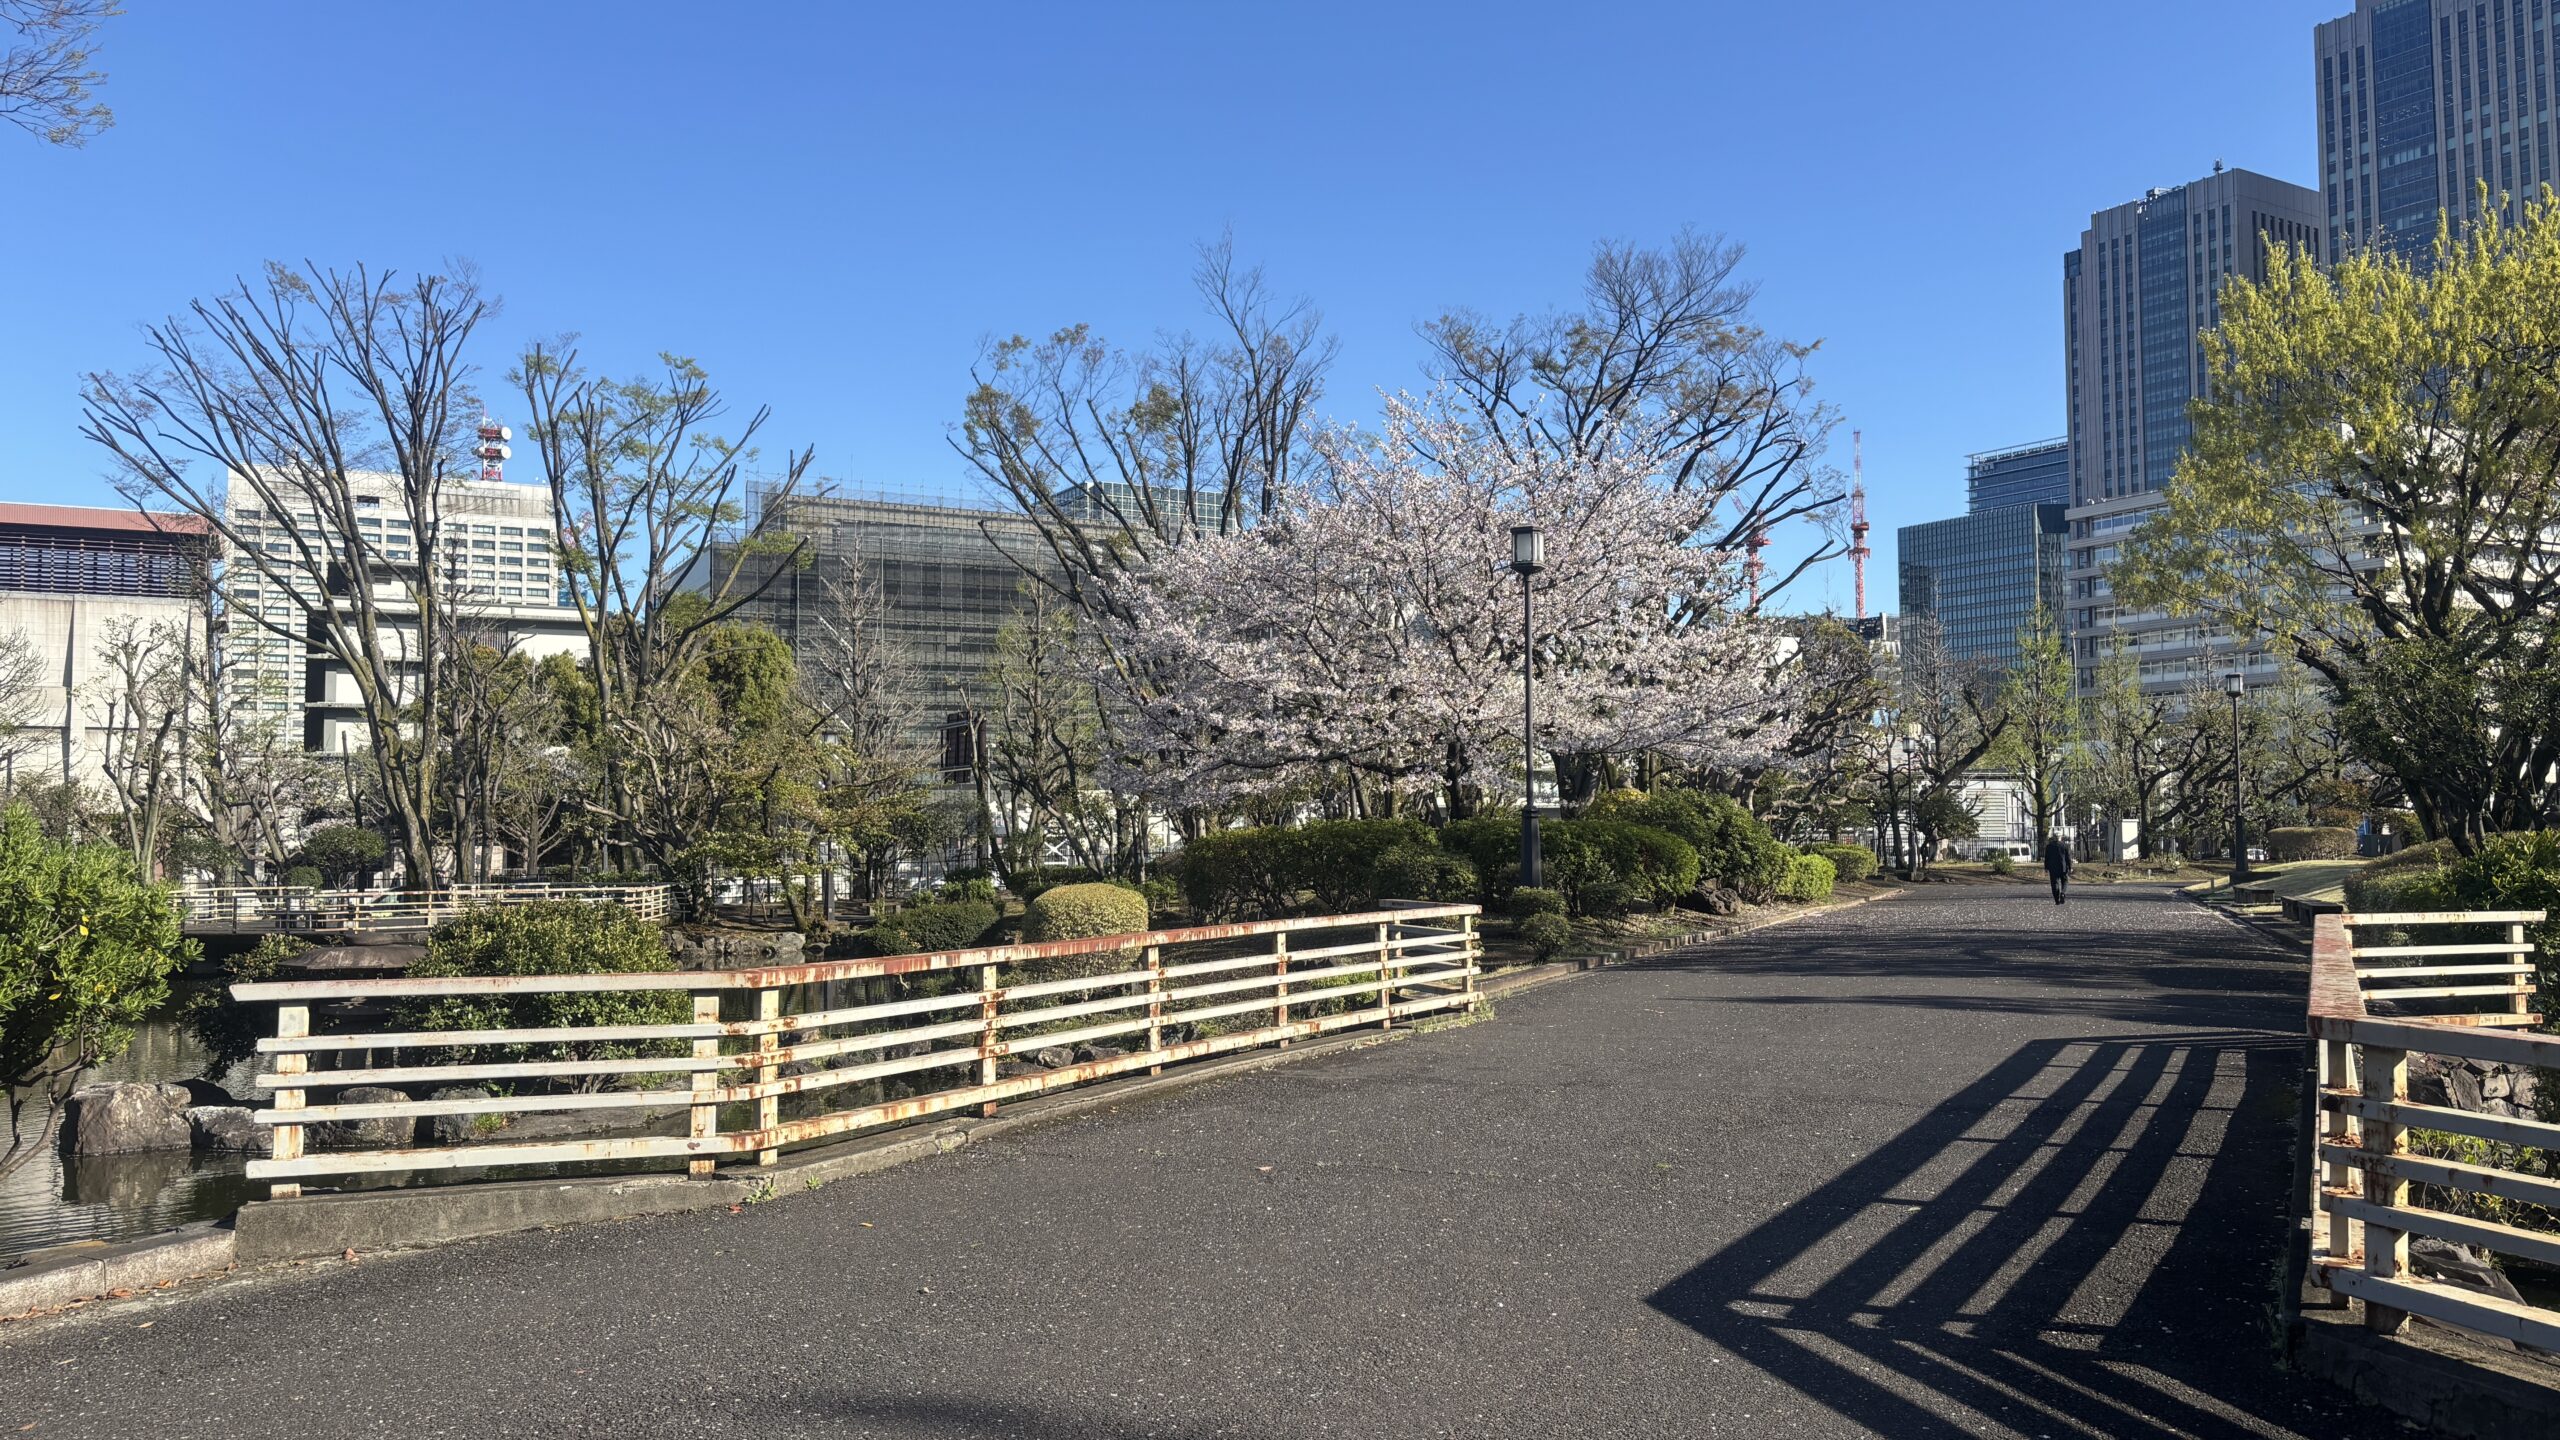
ビジョン前は広場で、喫煙所もあるため滞留が見られると紹介されています。
立ち止まる人、スマホを見る人、友達を待つ人——そういう“リアルな東京”が撮れます。
English
It’s described as a plaza with a smoking area, which leads to people staying in place.
People standing, checking phones, waiting for friends—this is where “real Tokyo” appears.
正面よりも斜めから撮ると、壁面に埋め込まれた巨大さが強調されます。
歩行者を小さく入れると、画面の“スケール感”が出ます。
English
Shooting from an angle emphasizes the screen’s size embedded into the building wall.
Include pedestrians small in frame to highlight the scale.
駅前は通行人が多く、自然に映り込みます。
商用・公開範囲が大きい撮影の場合は、
English
Station-front areas naturally include many passersby.
For commercial use or wide distribution, plan ahead with:
音声がある媒体なので、環境音にビジョン音が乗ります。
インタビュー撮影ならピンマイクや指向性マイクの準備、もしくは別撮り(後録り)が向きます。
English
Because the screen includes audio, the sound will spill into your recordings.
For interviews, use lav mics or a directional mic, or plan for separate audio capture.
この媒体は Jアラートと連動し、緊急情報に切り替わることがあるとされています。
撮影中に表示内容が変わる可能性がある点は、演出面でも注意。
English
The screen is described as linked to J-Alert, switching to emergency information when necessary.
That means what’s displayed can change unexpectedly—keep this in mind for planned visuals.
あだちスマイルビジョン周辺は、
**駅前の人の流れ/滞留/巨大な光源(ビジョン)**が揃っていて、短いカットでも「東京っぽい街の熱量」が出る場所でした。
街の顔になる背景として、Vlog、街紹介、MV、ドキュメンタリーの“導入”におすすめです。
English
The area around Adachi Smile Vision gives you everything you need for instant Tokyo atmosphere:
crowd flow, lingering plaza groups, and a massive light source (the screen).
As a “city-face backdrop,” it’s excellent for vlogs, city features, music videos, and documentary introductions.